
5 Tips for Better Photo Composition
You landed here because you want to learn to compose a better photo - and I would love to share a few quick tips on how to do just that! These are a few basic concepts that are easy to apply, practice, and perfect - whether you’re snapping a photo of a friend on your phone or are exploring on your next vacation with a favourite travel camera! Keep an eye out for these concepts and instantly level up your photo-game! Samples + visuals included - keep an eye on the red markups!
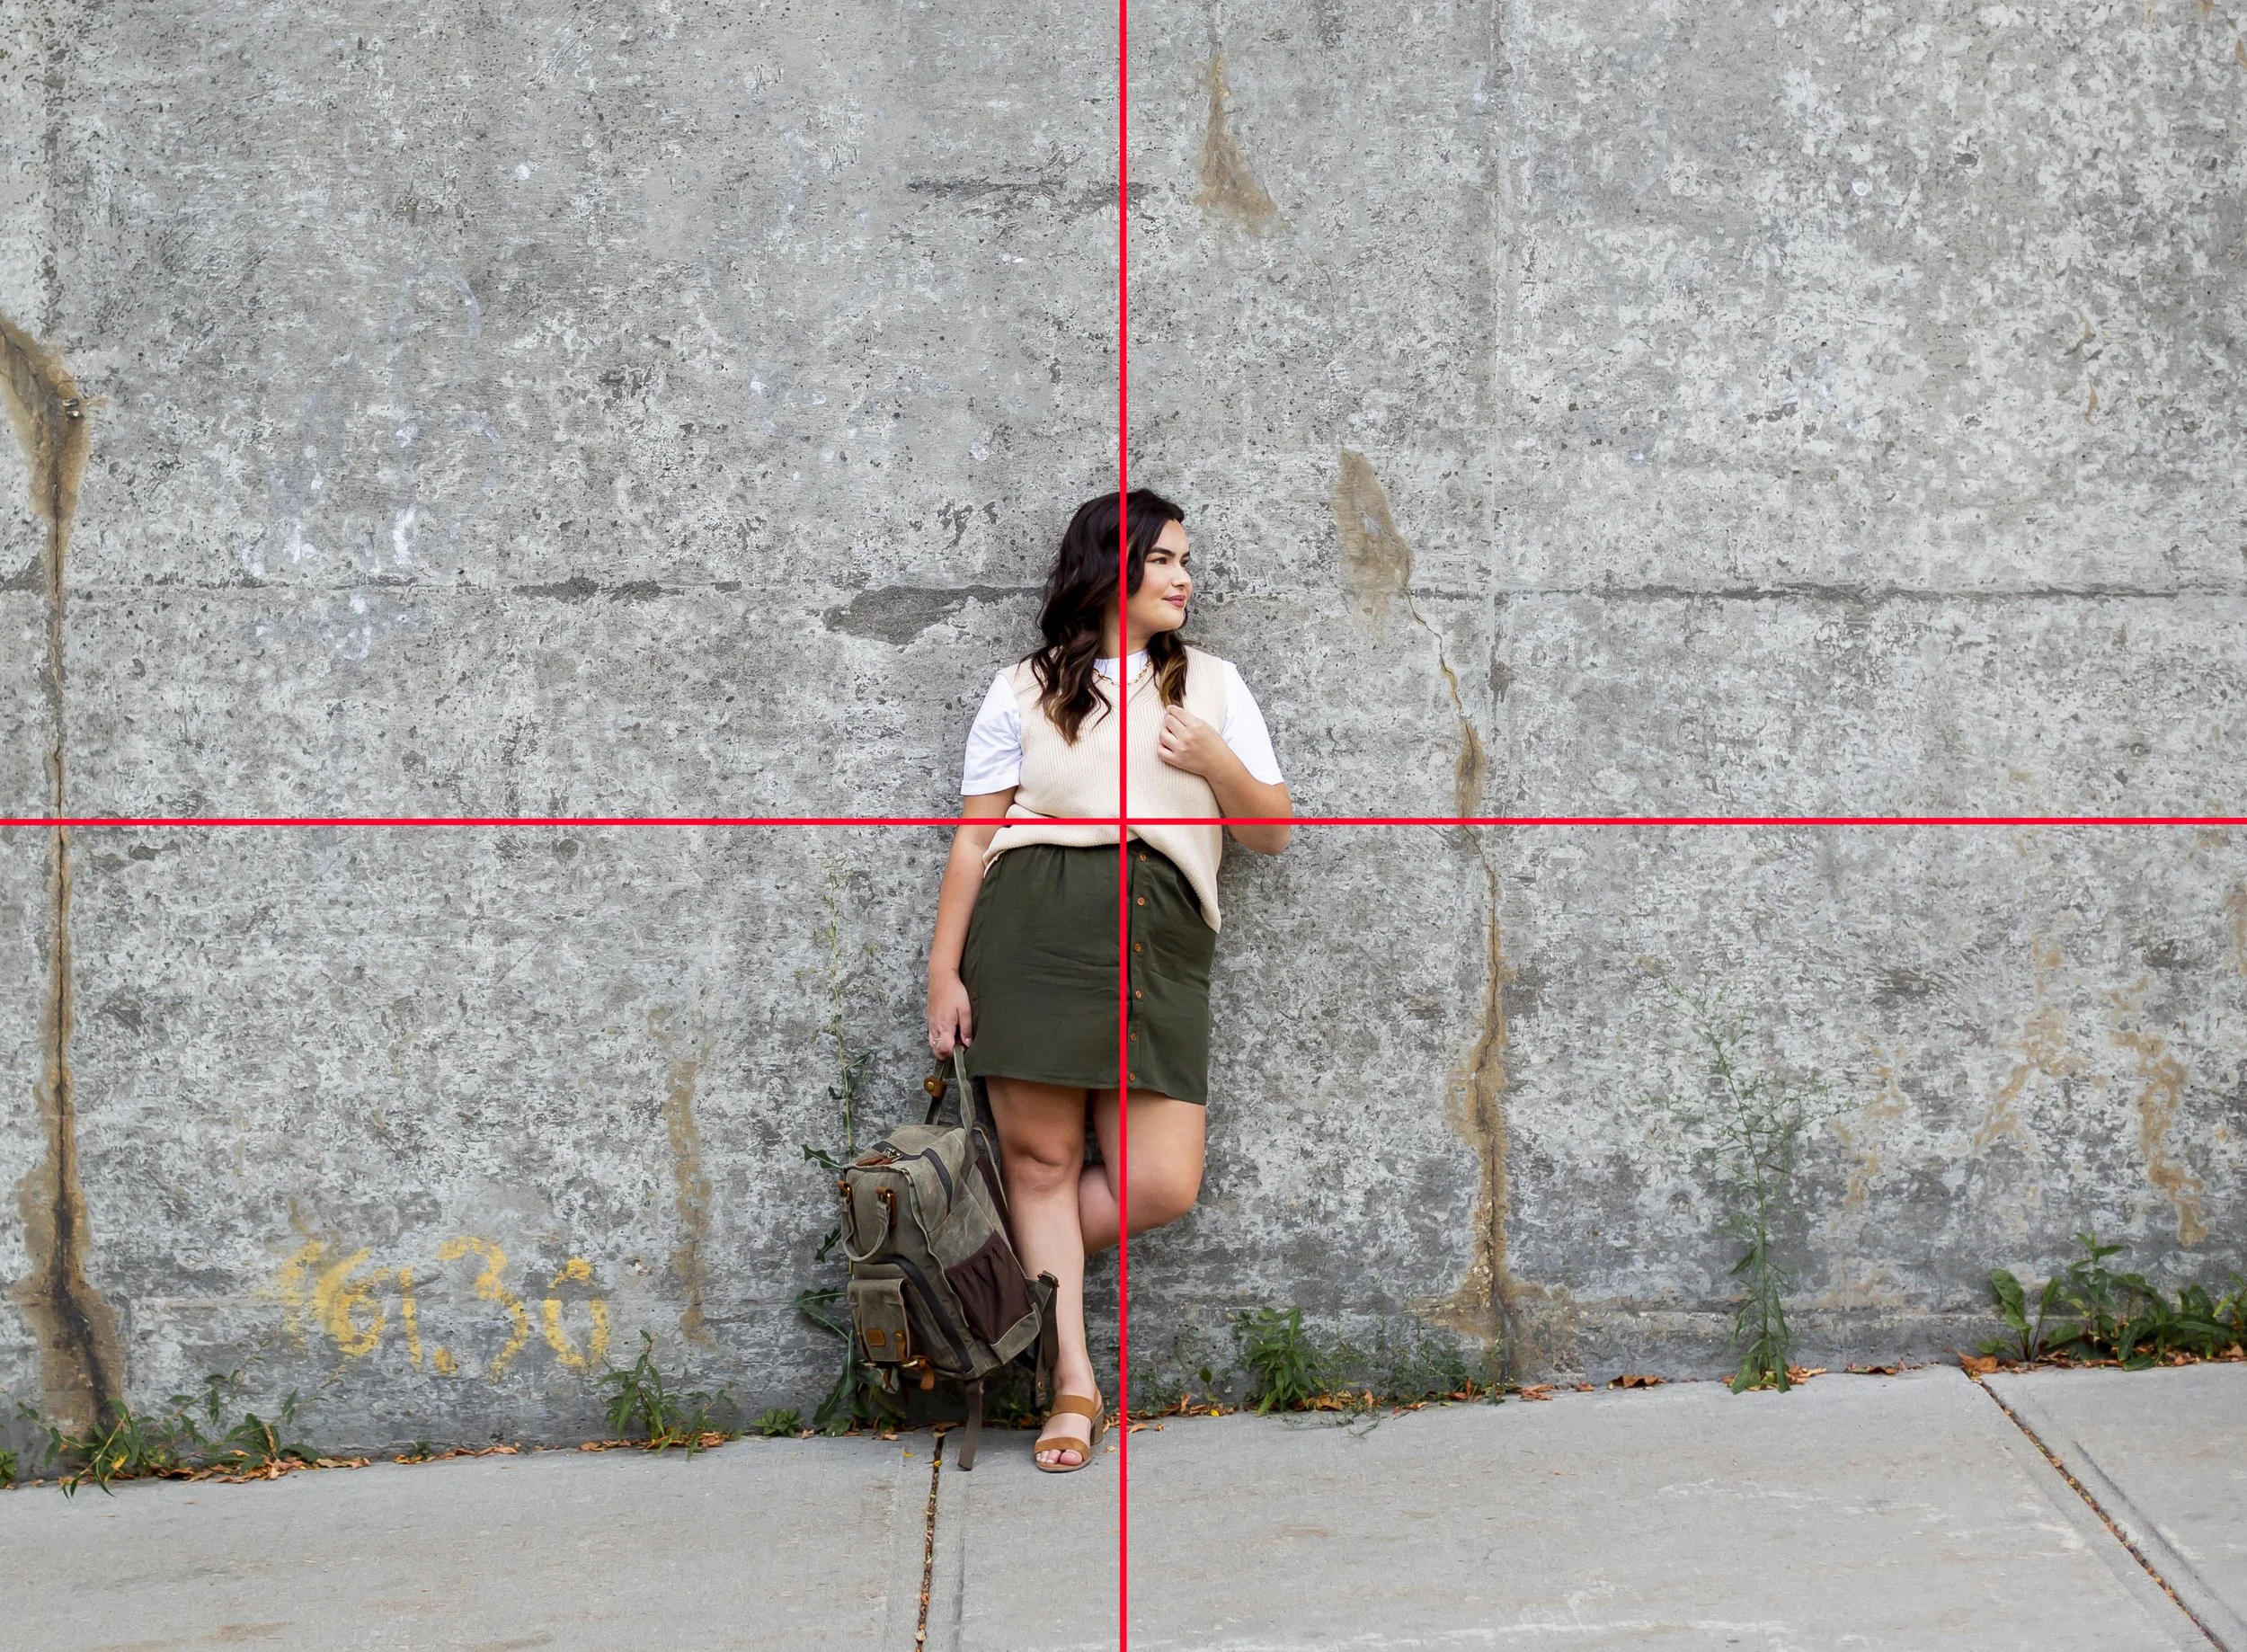
Rule of Thirds
Imagine a grid overlaying the photo (3 sections that go both horizontally and vertically) and place the key points of interest in the photo along the “thirds” of the image. Use the lines themselves, or their intersections to guide your focal points. (ex. a horizon line along the bottom third, or a person’s body along the left or right third of the image)


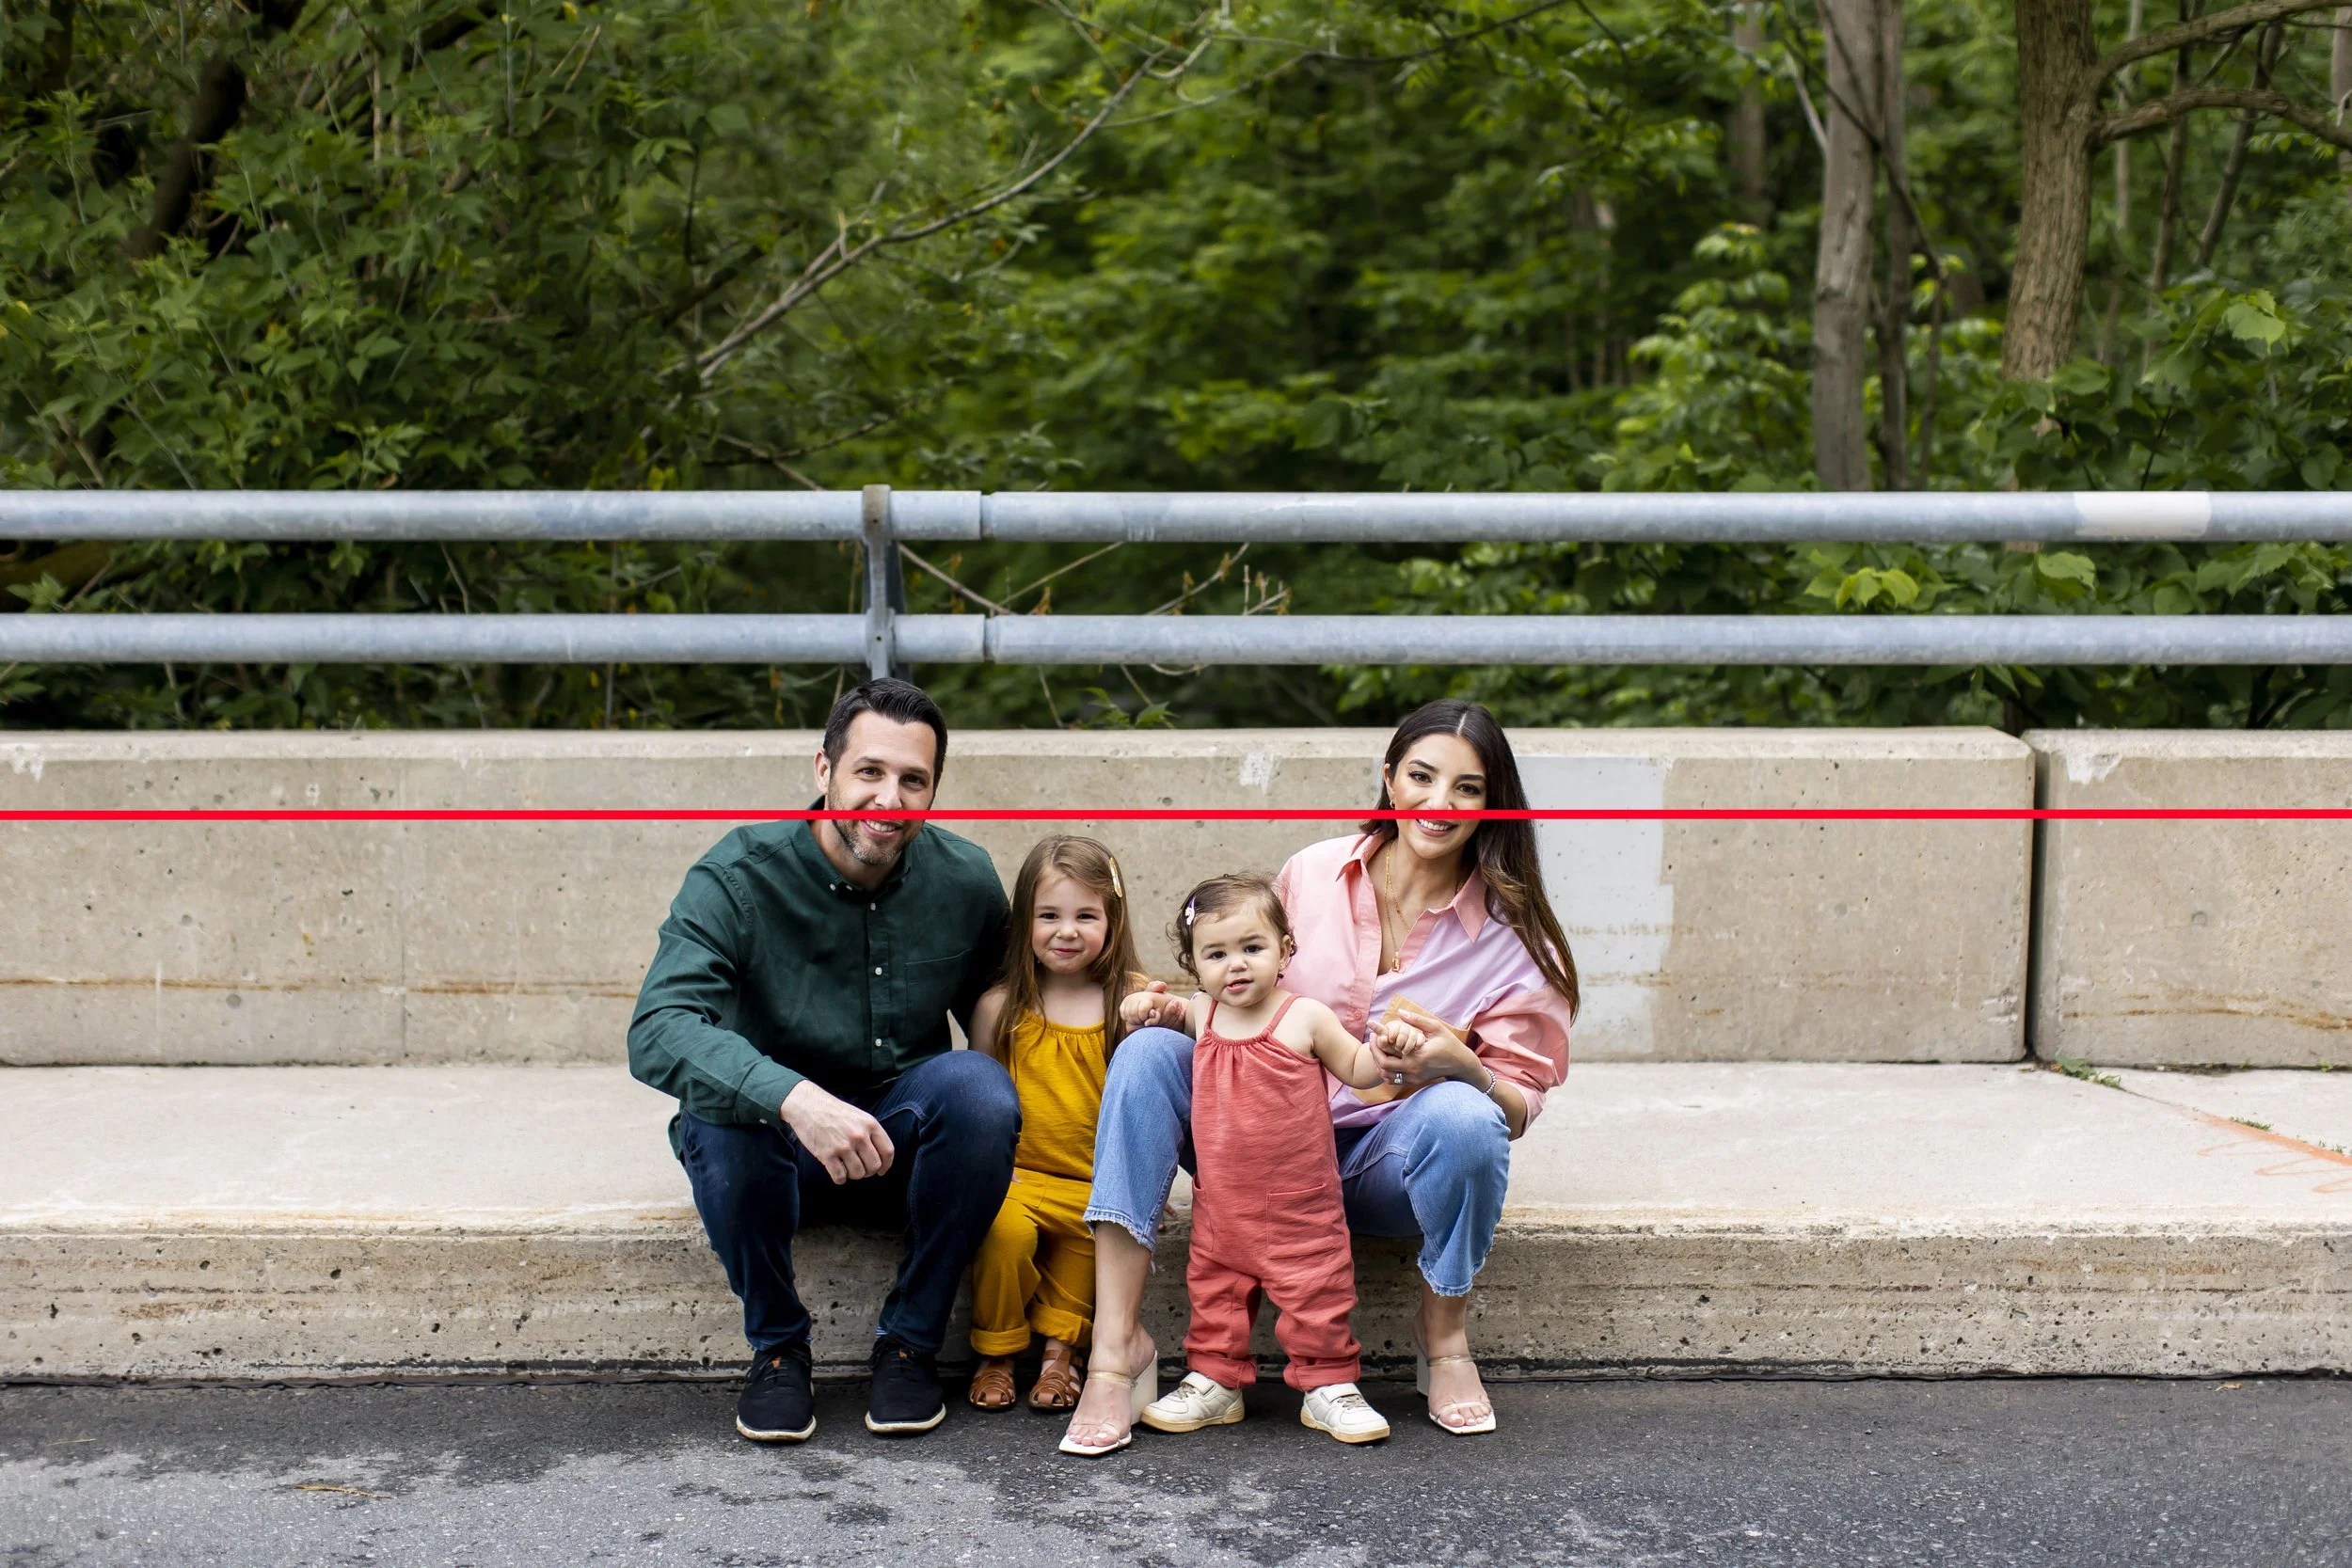
Center Composition
This one is exactly how it sounds, but make sure it’s bang on - place your matter of interest in the center of the frame. This method can also often used with other composition rules you’ll find here.

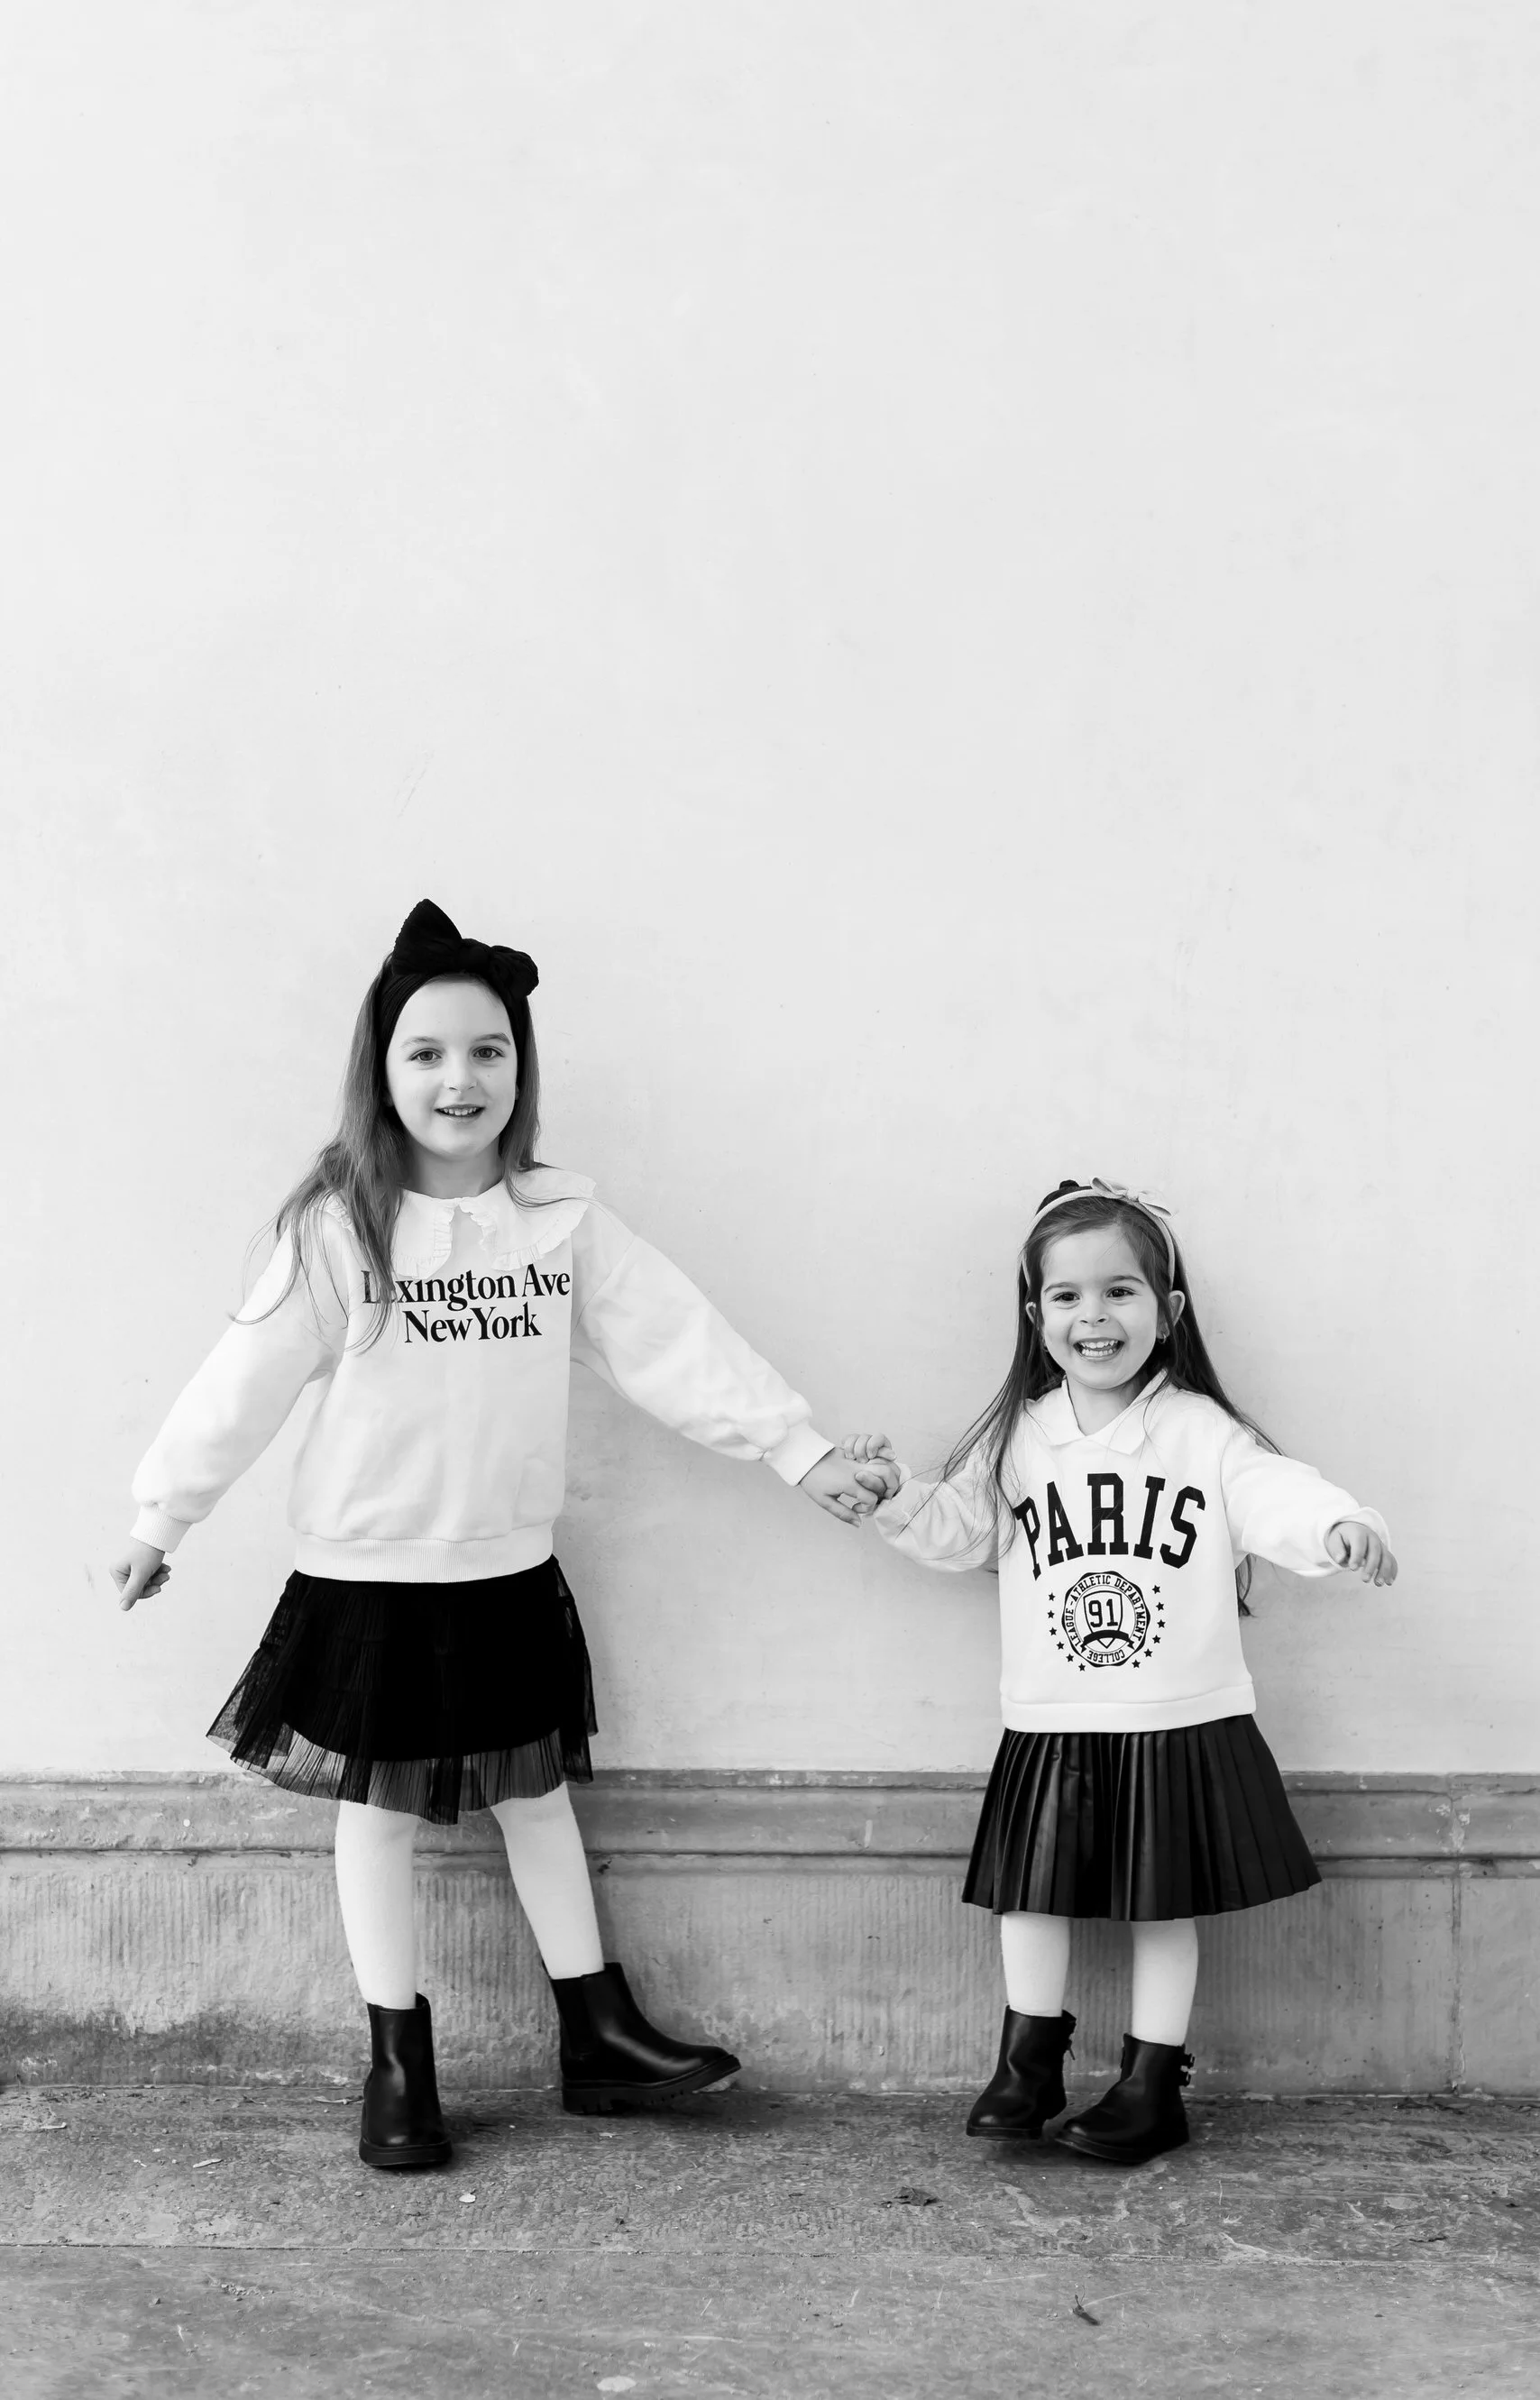
Symmetry
This is a fun one and definitely one of my favourites! Look for elements that are symmetrical, as it’s naturally very appealing to the viewer’s eye. It can be found in nature, architecture and other design elements as well - and can even be manufactured by you, the photographer. Images like this should be lined up properly, and are great to have subject matter incorporated into as well.
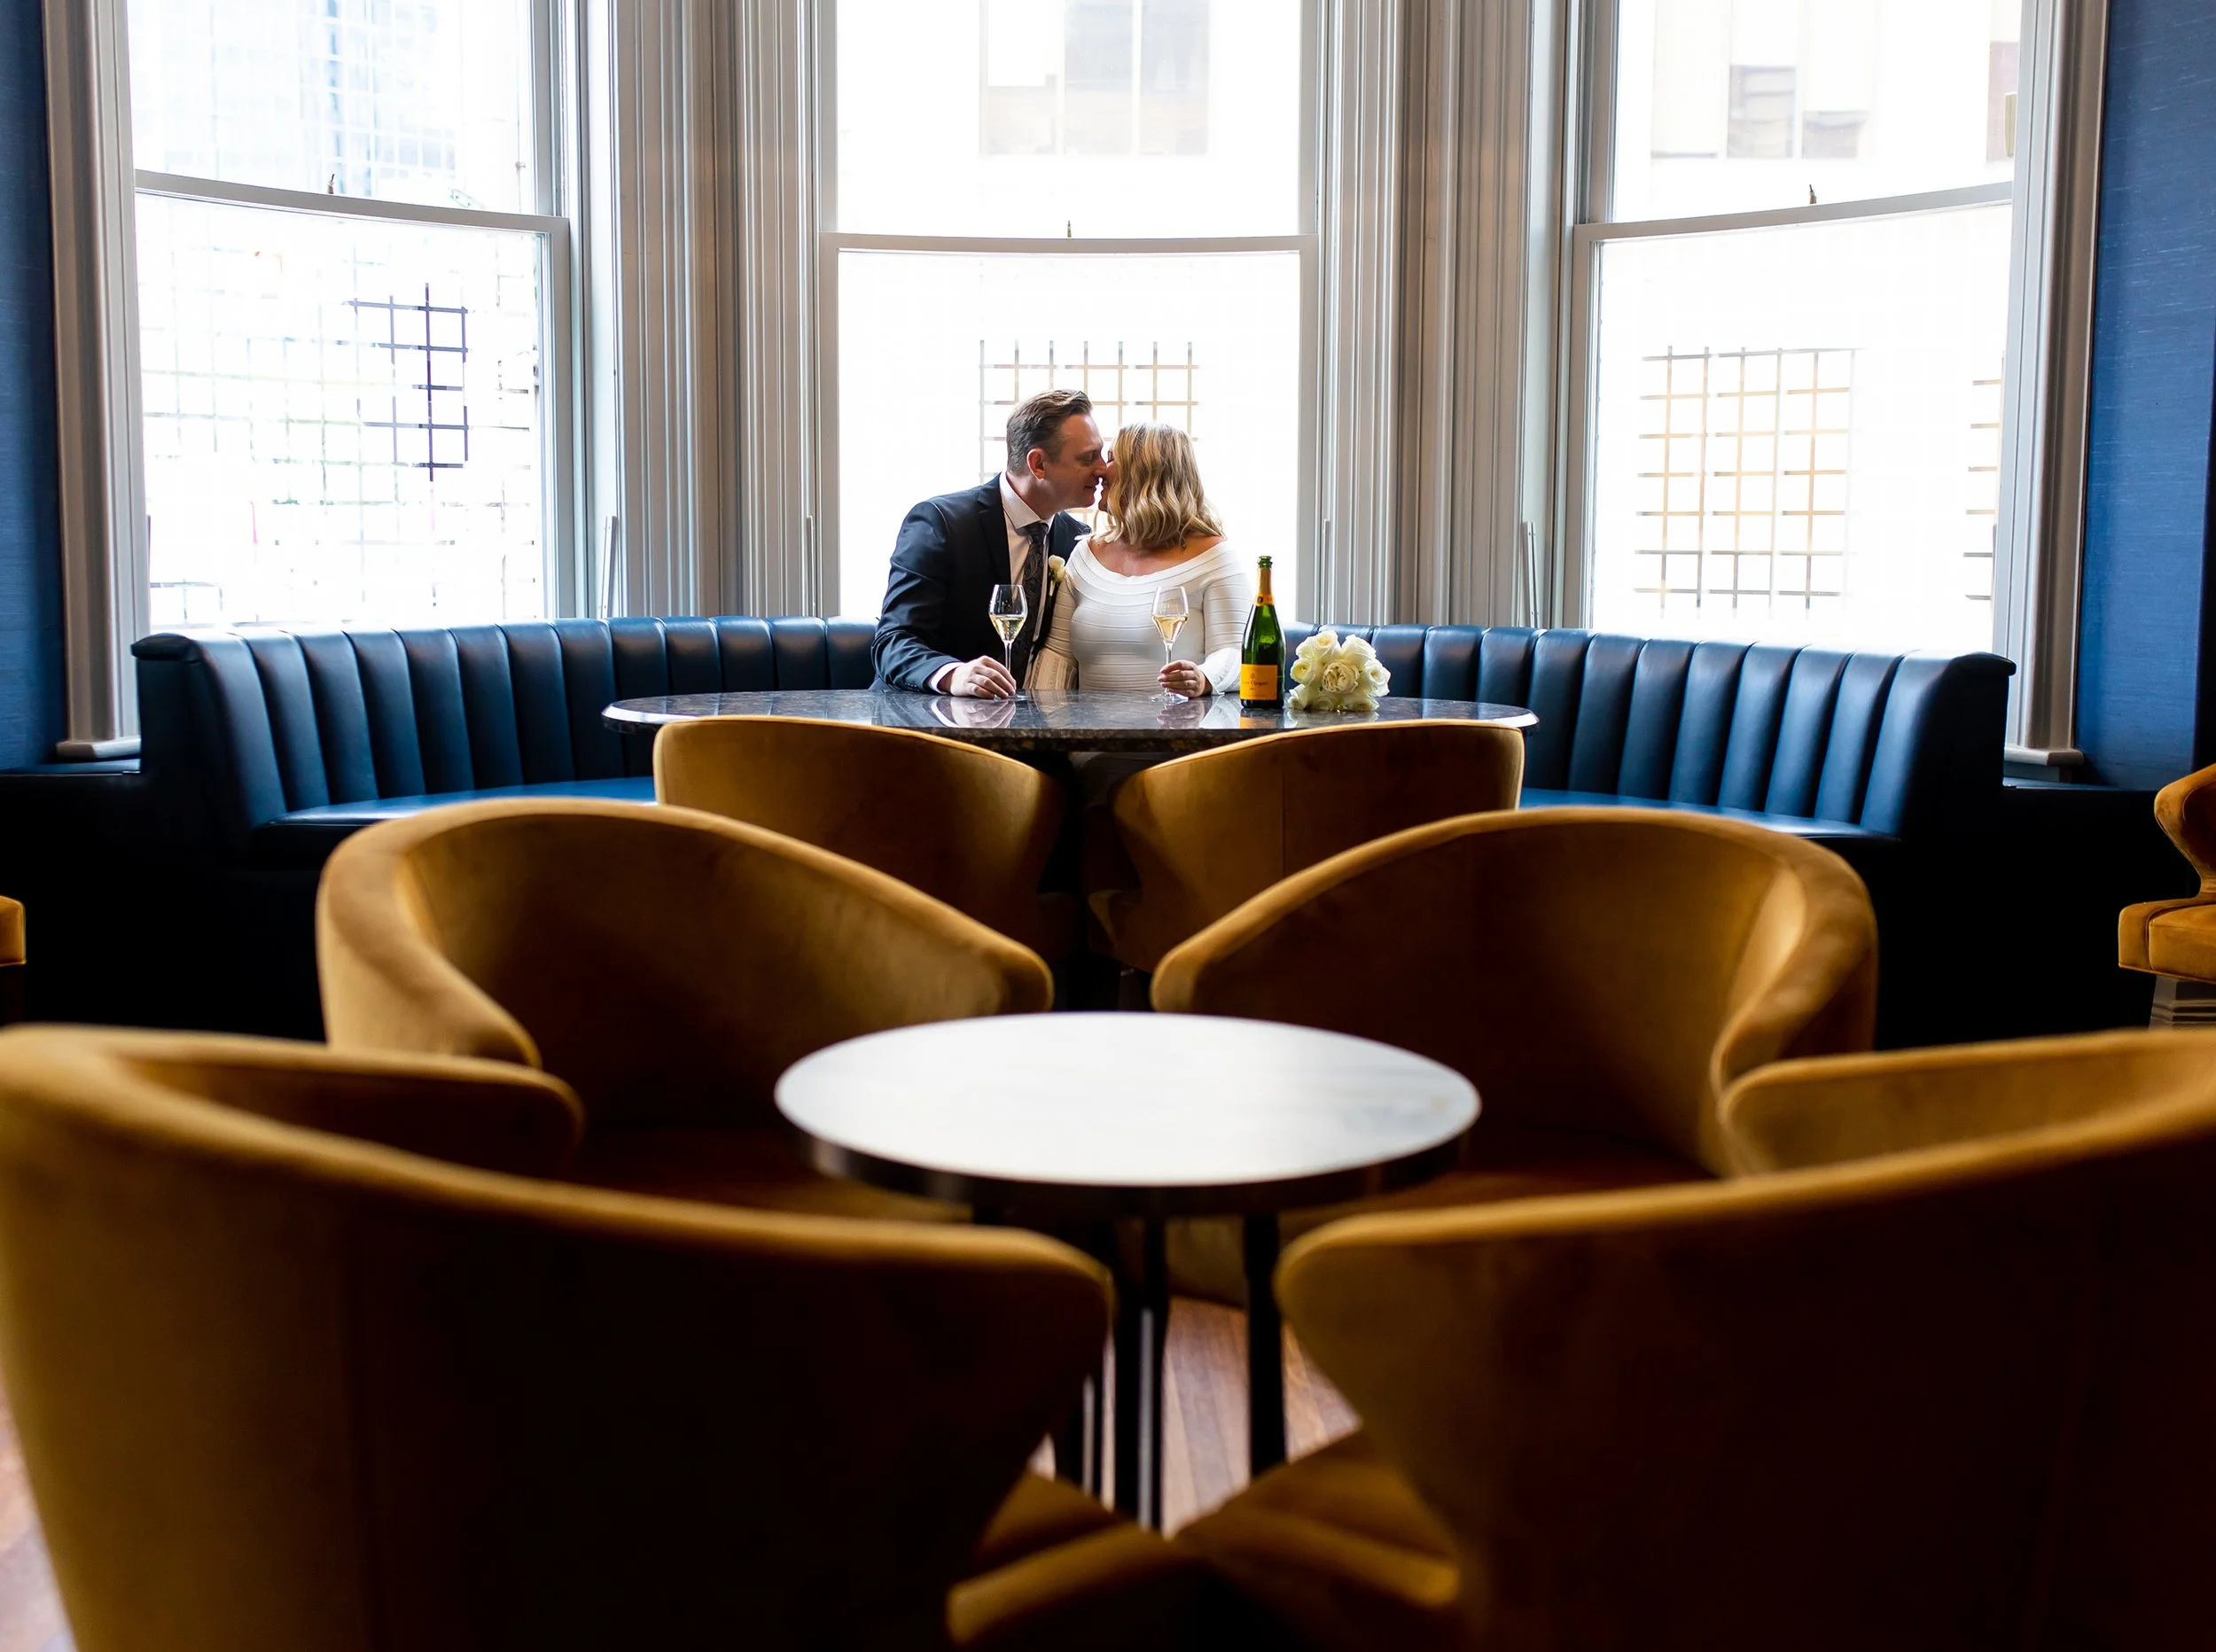


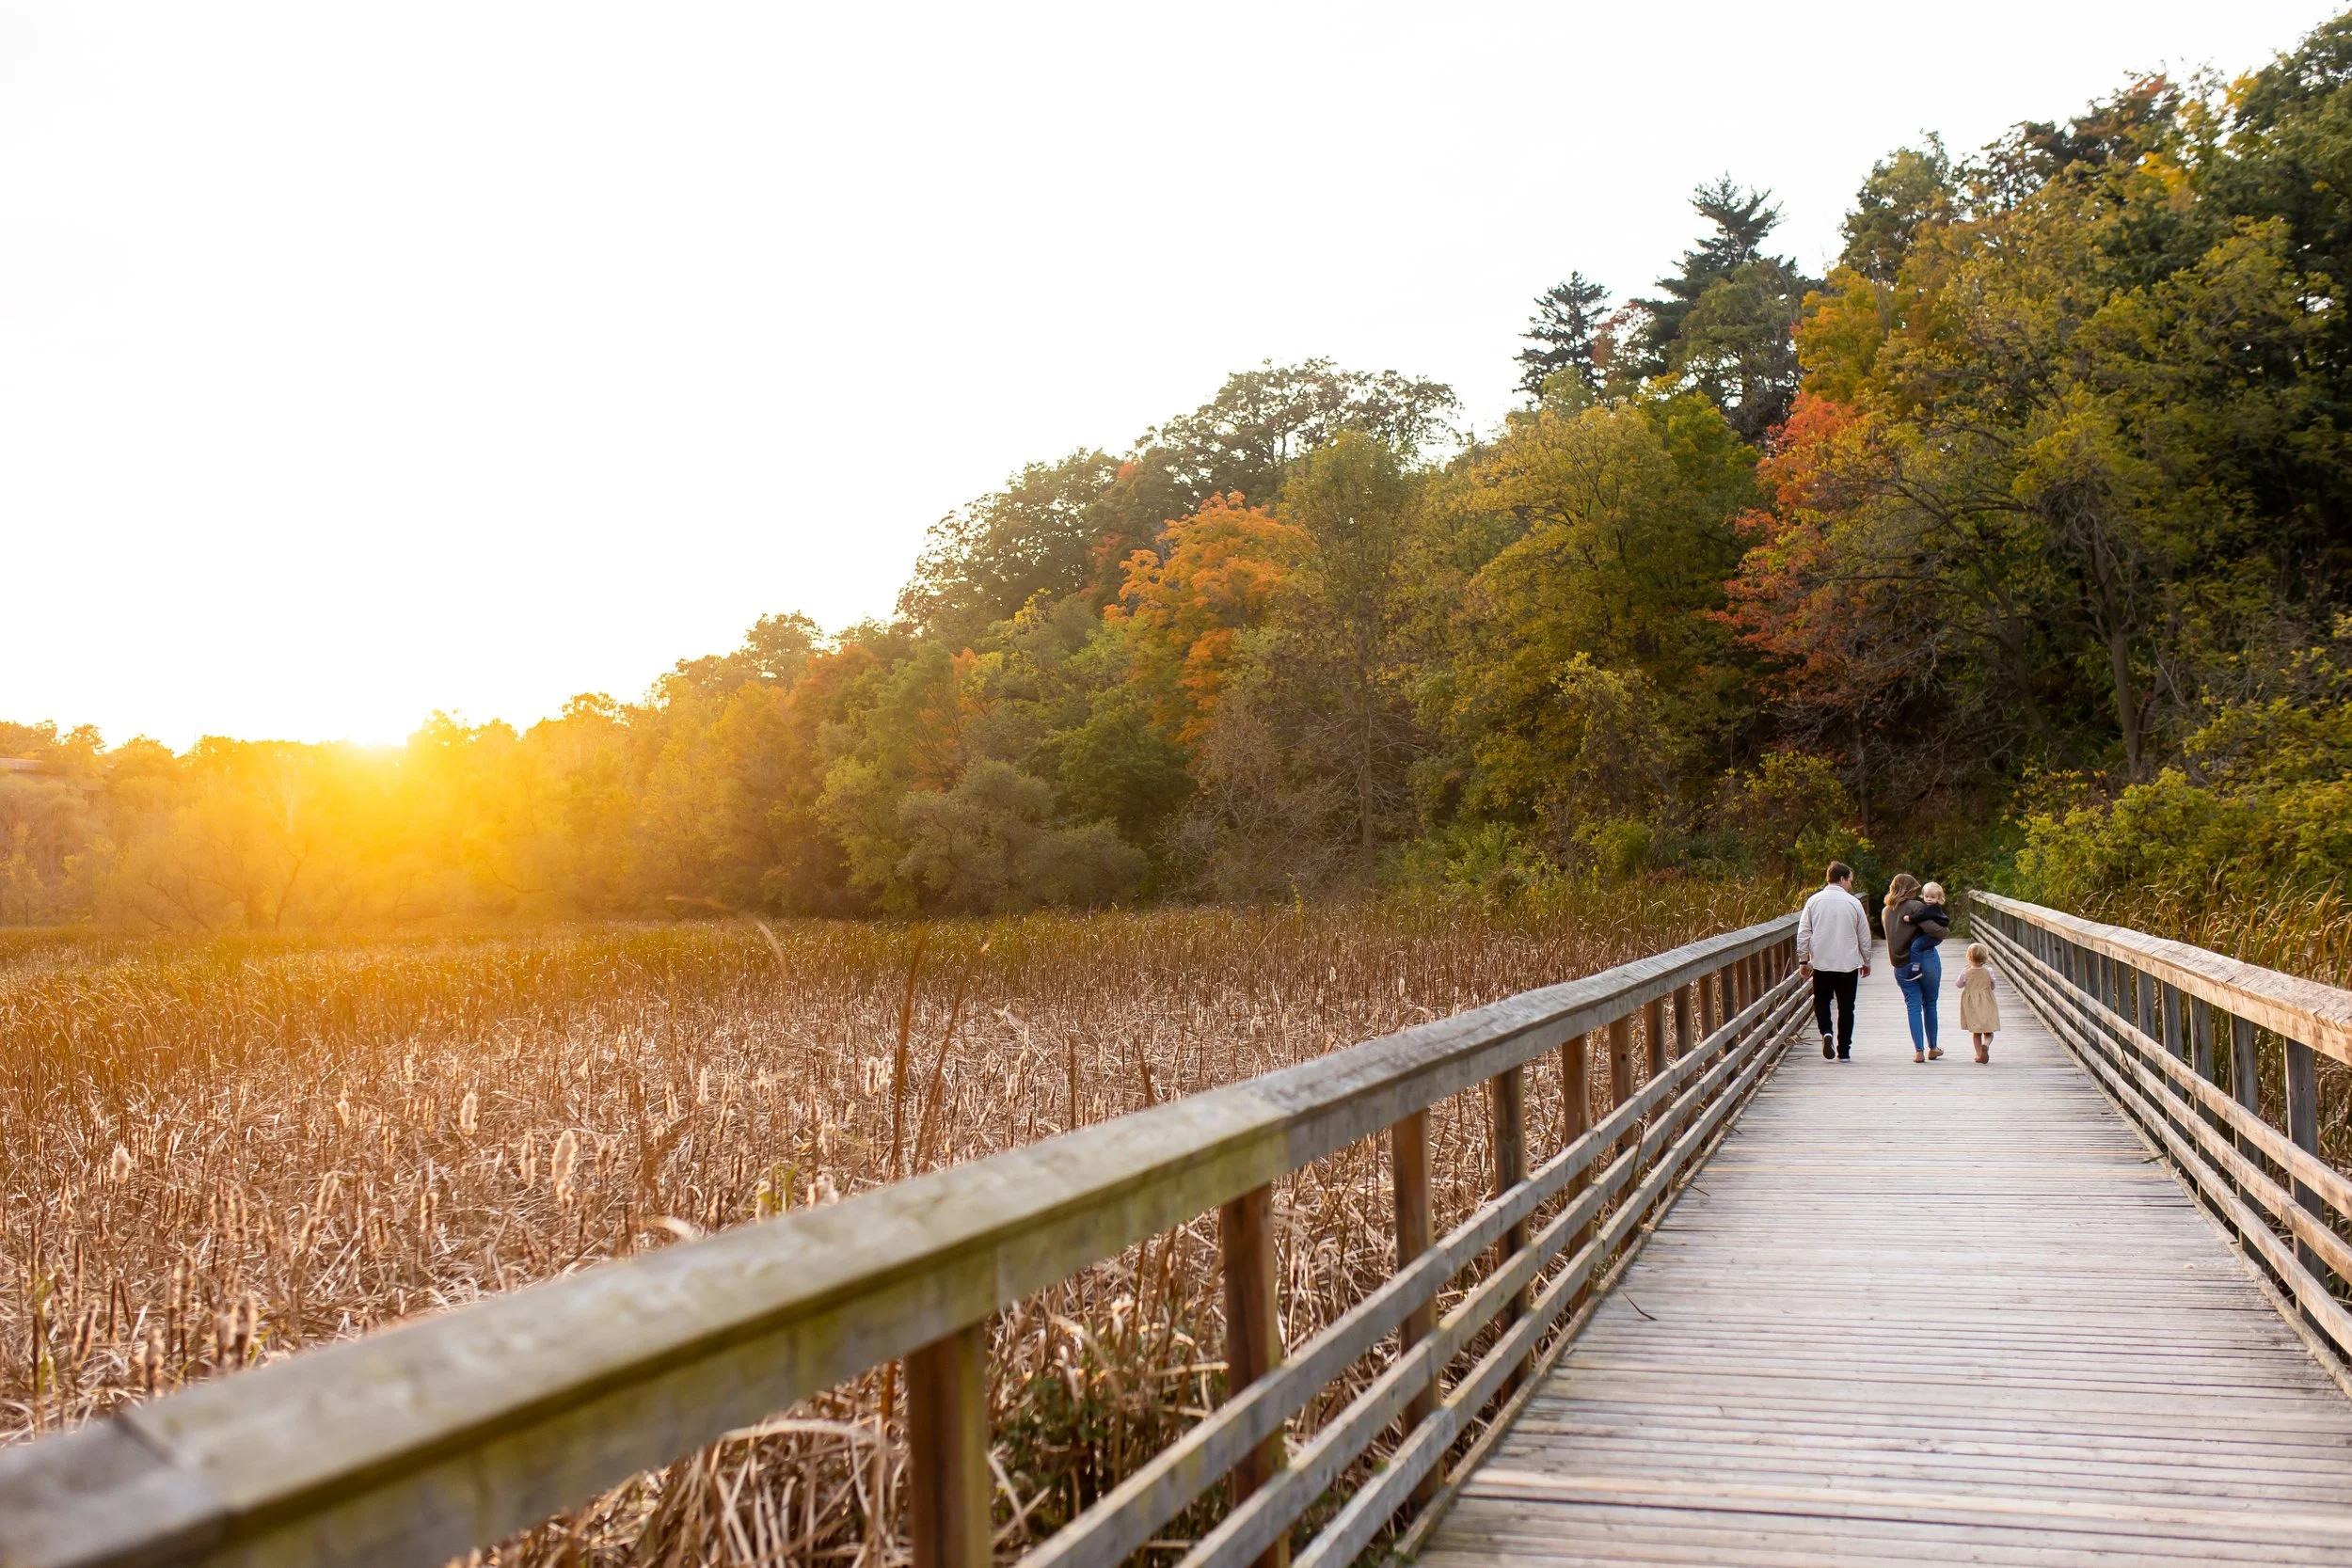
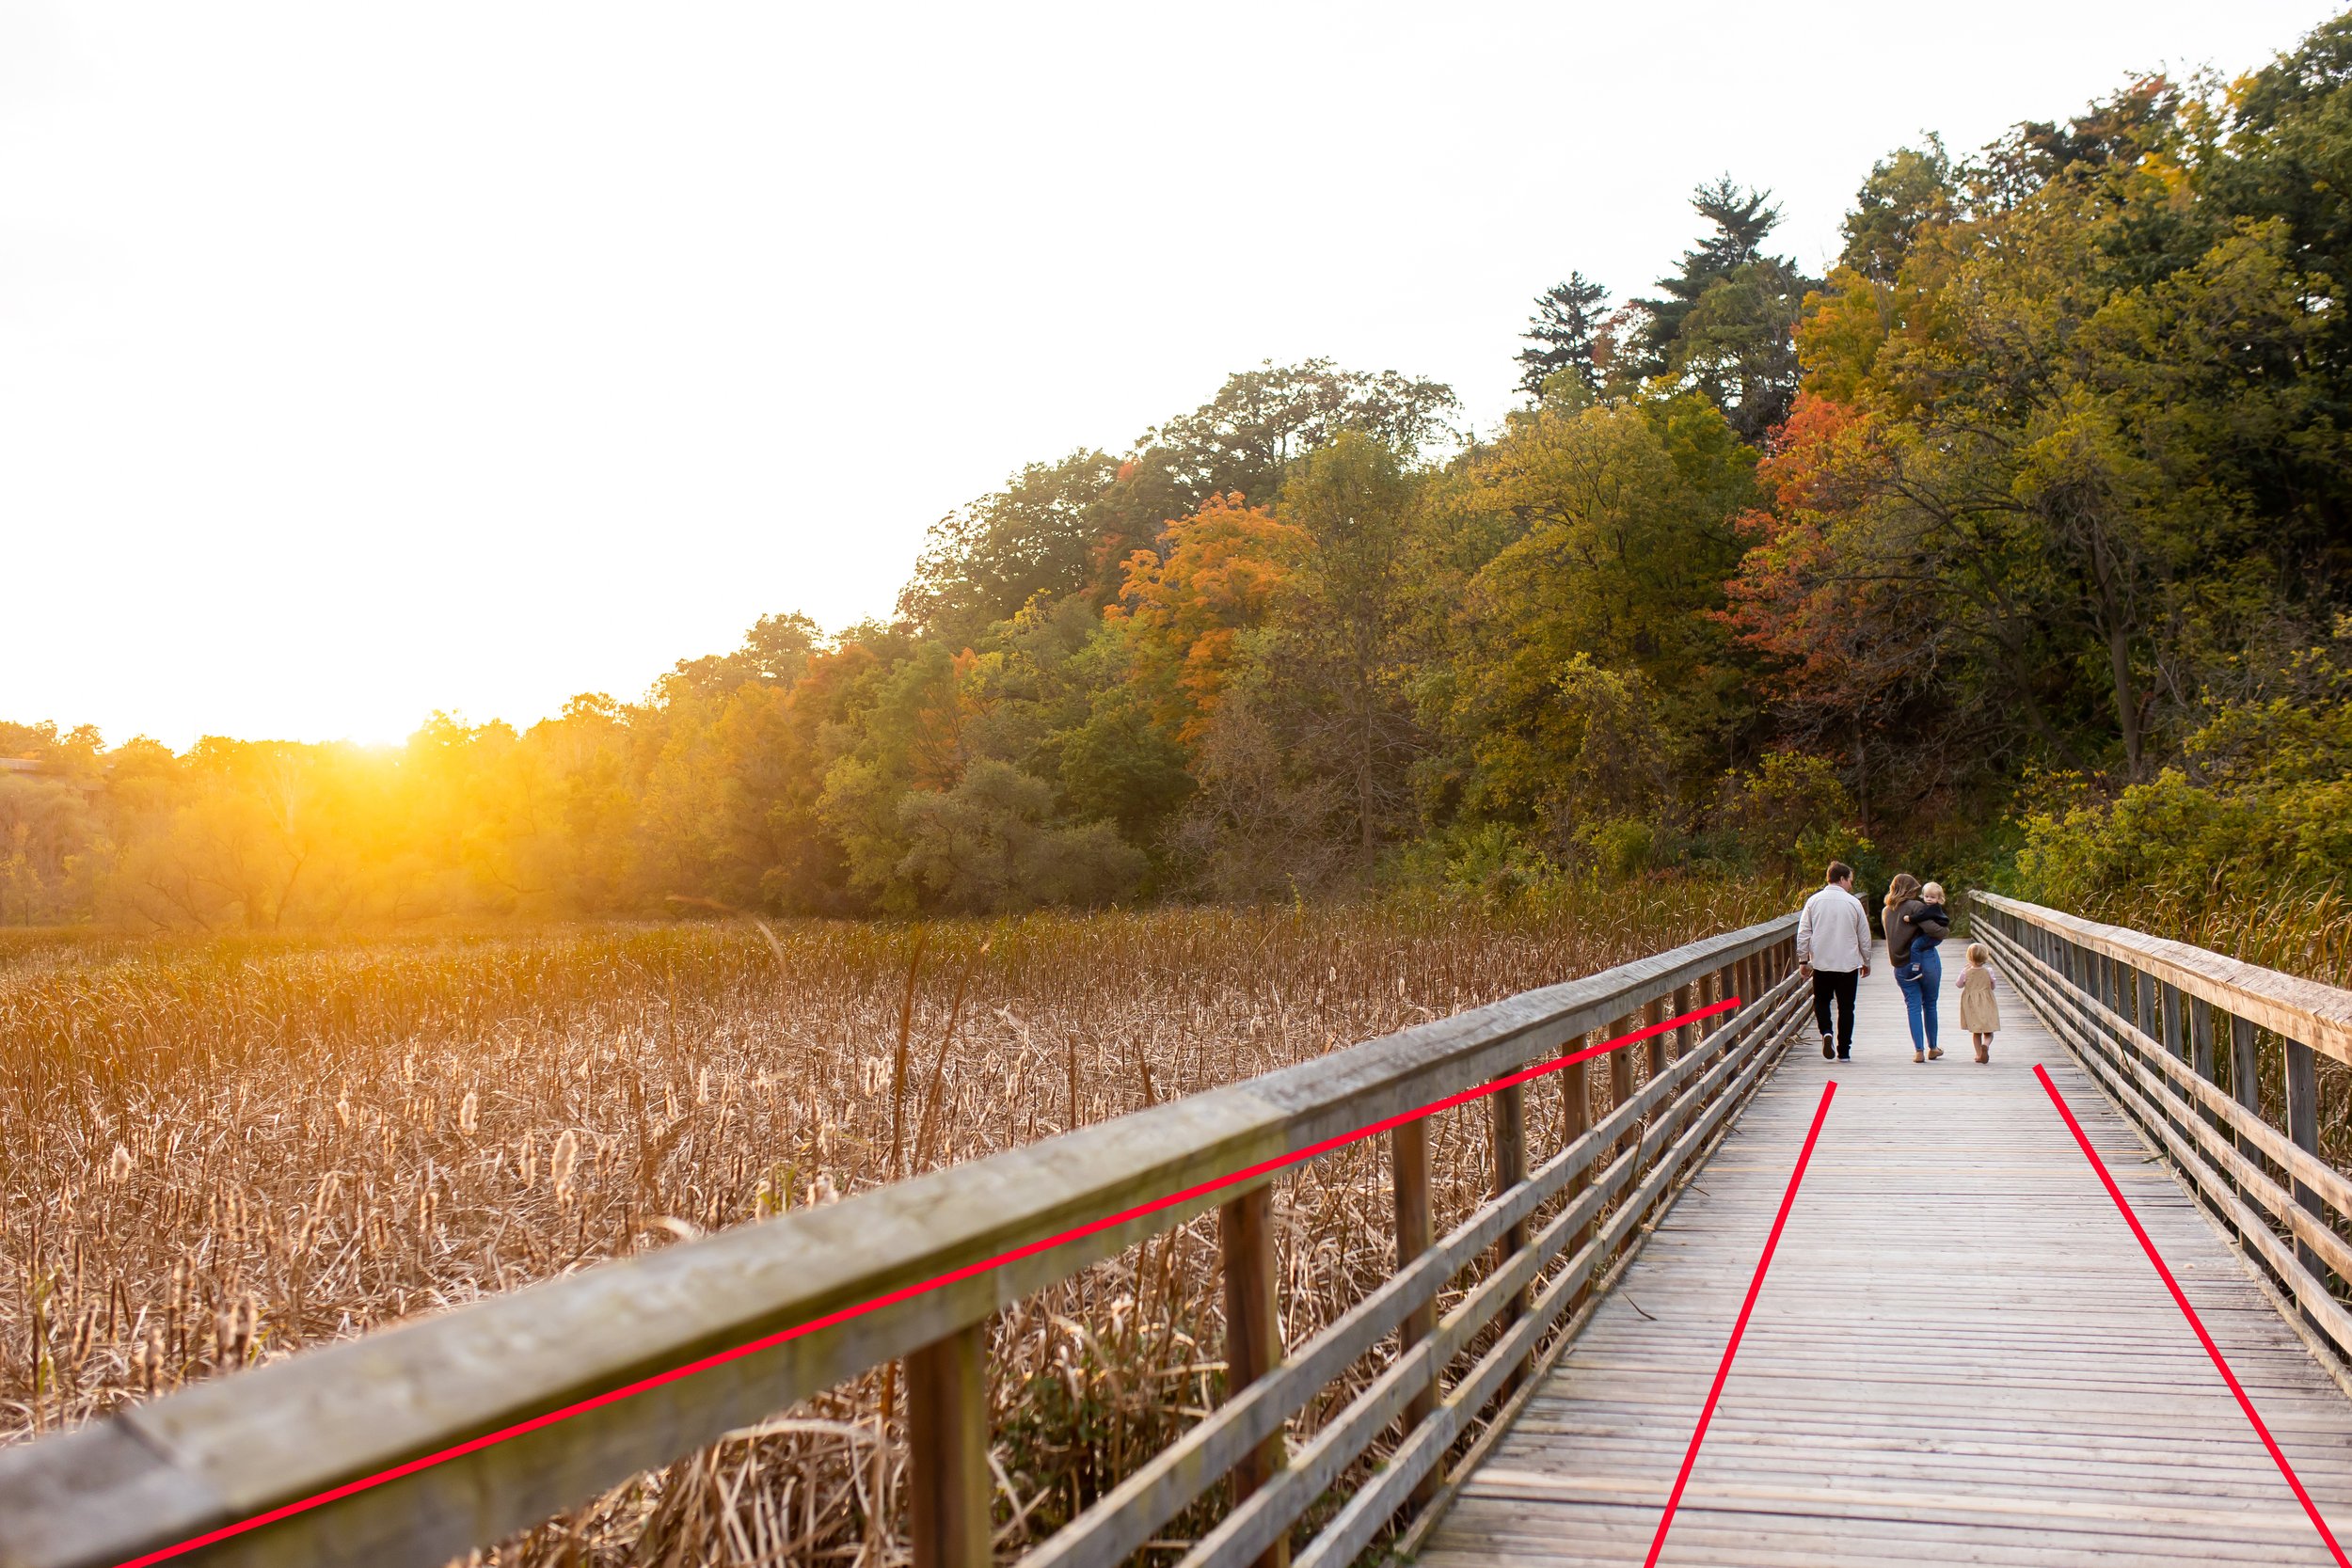
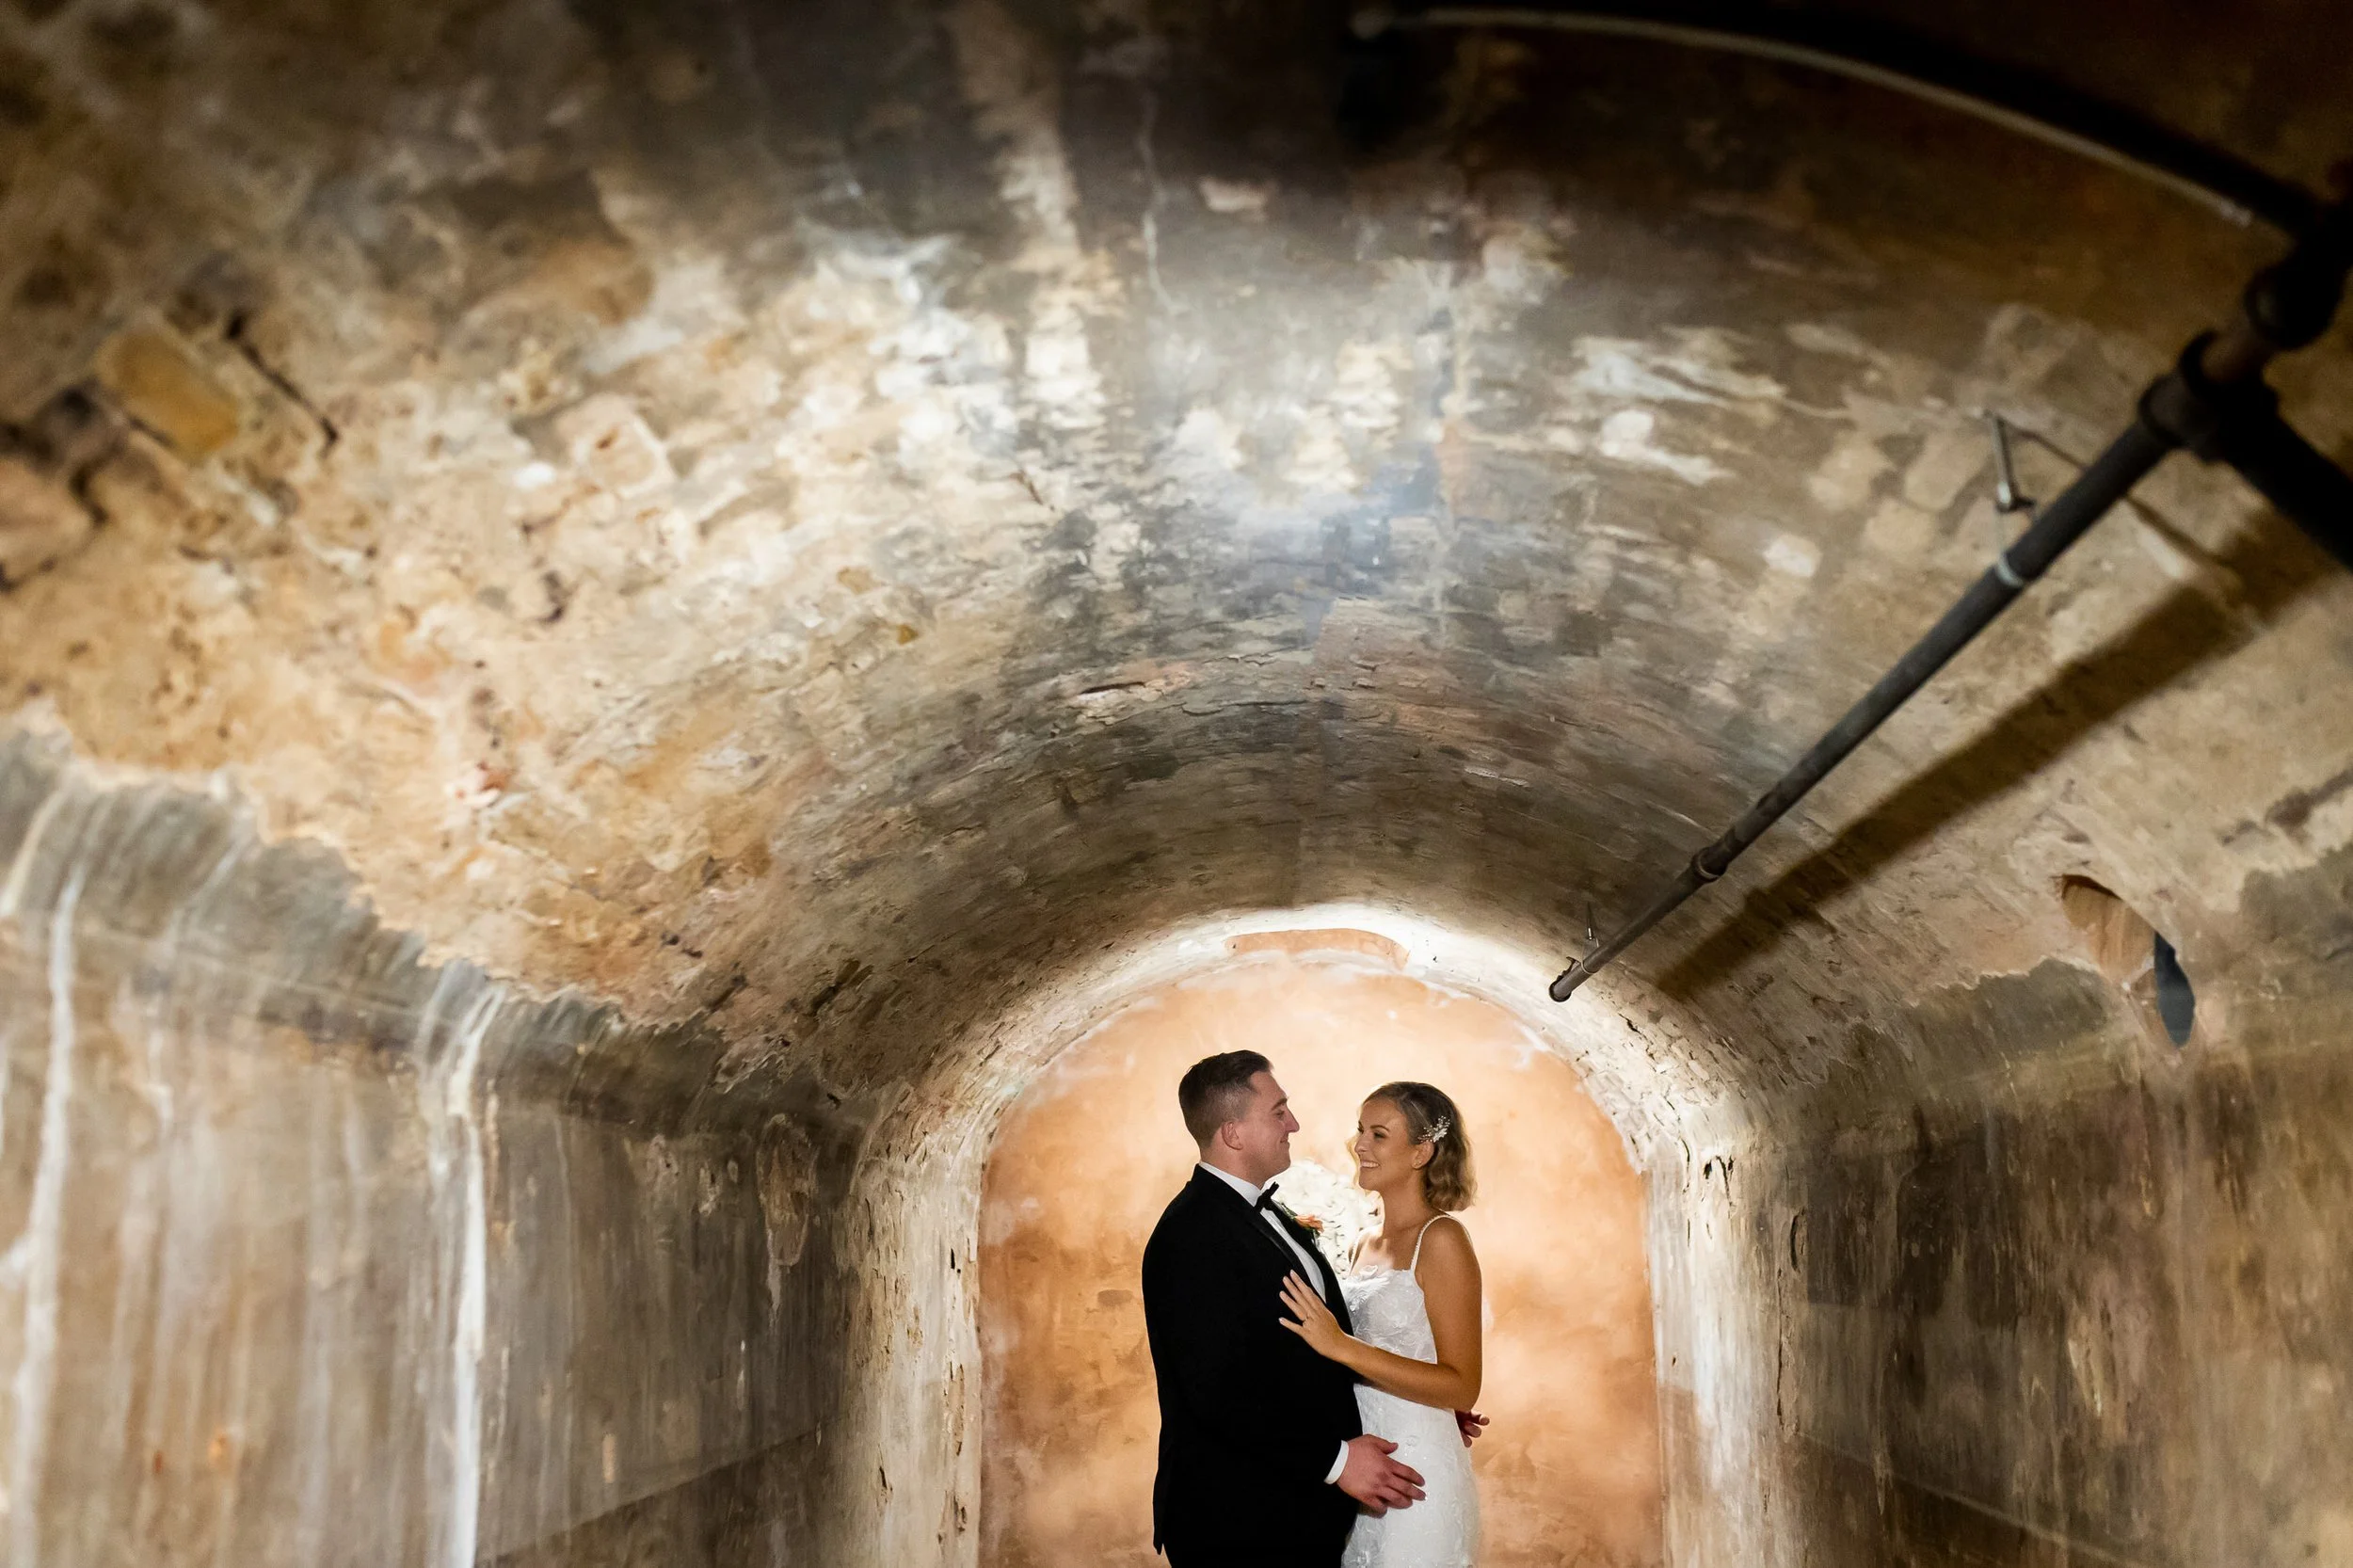
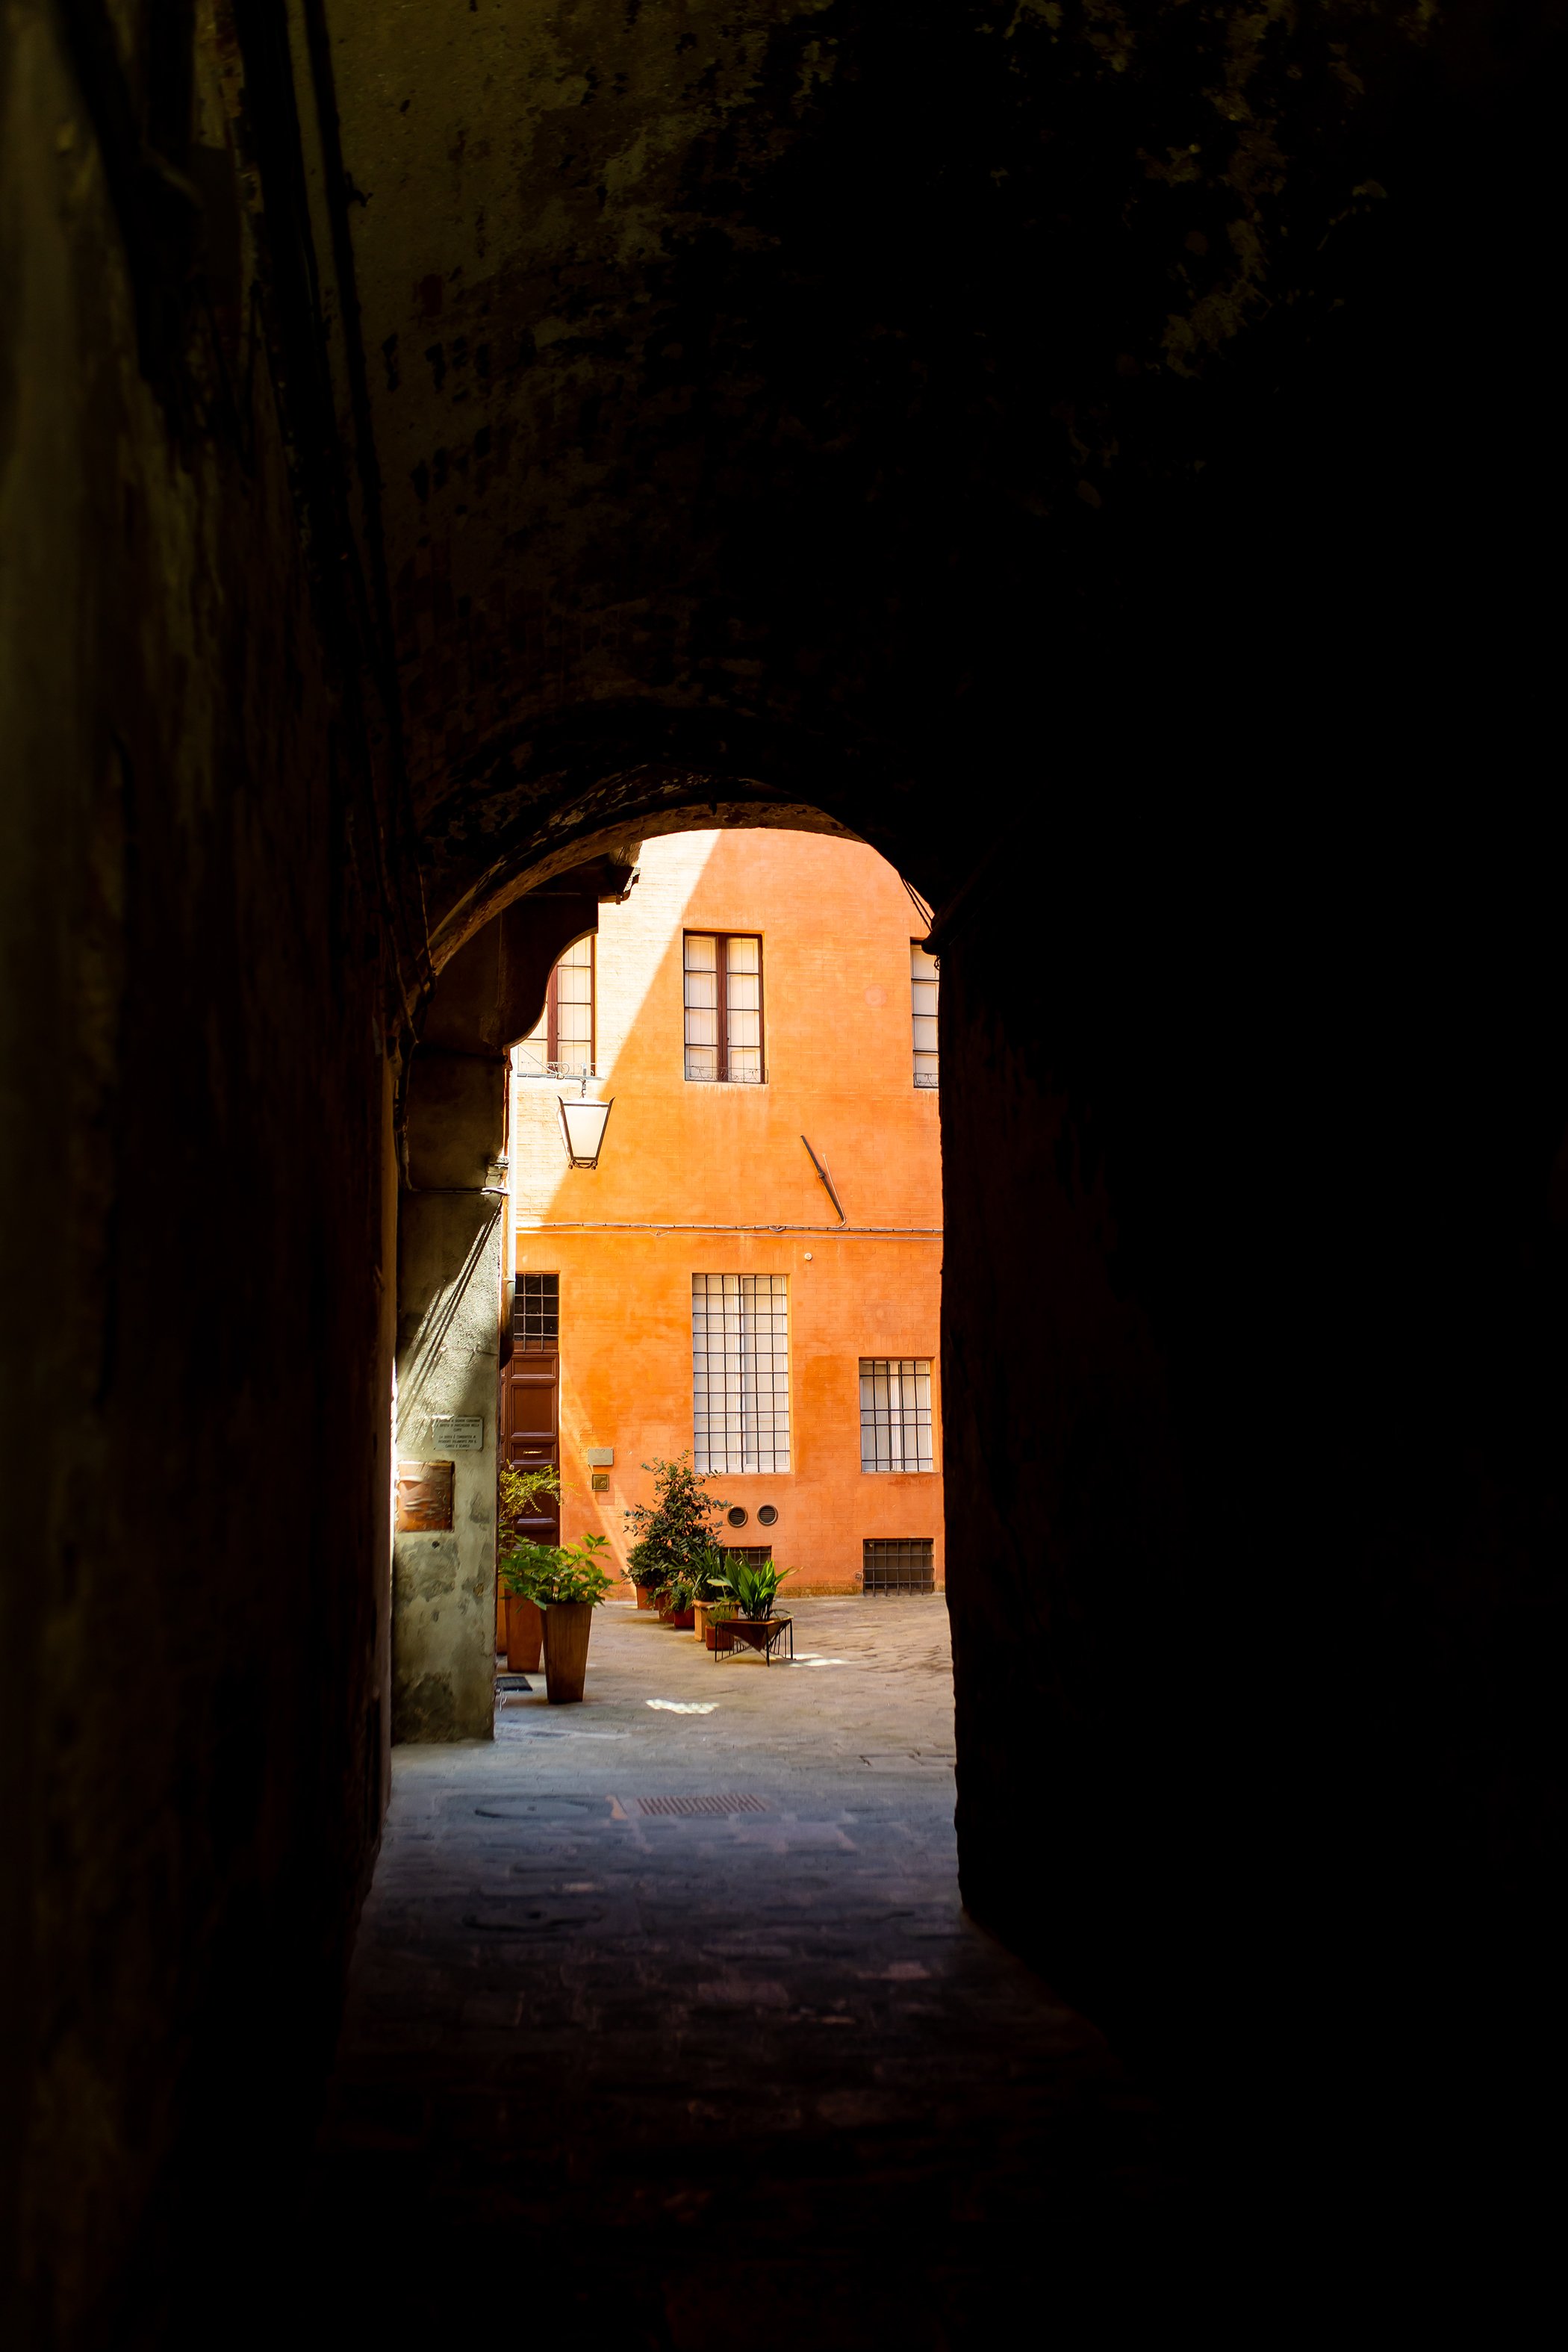
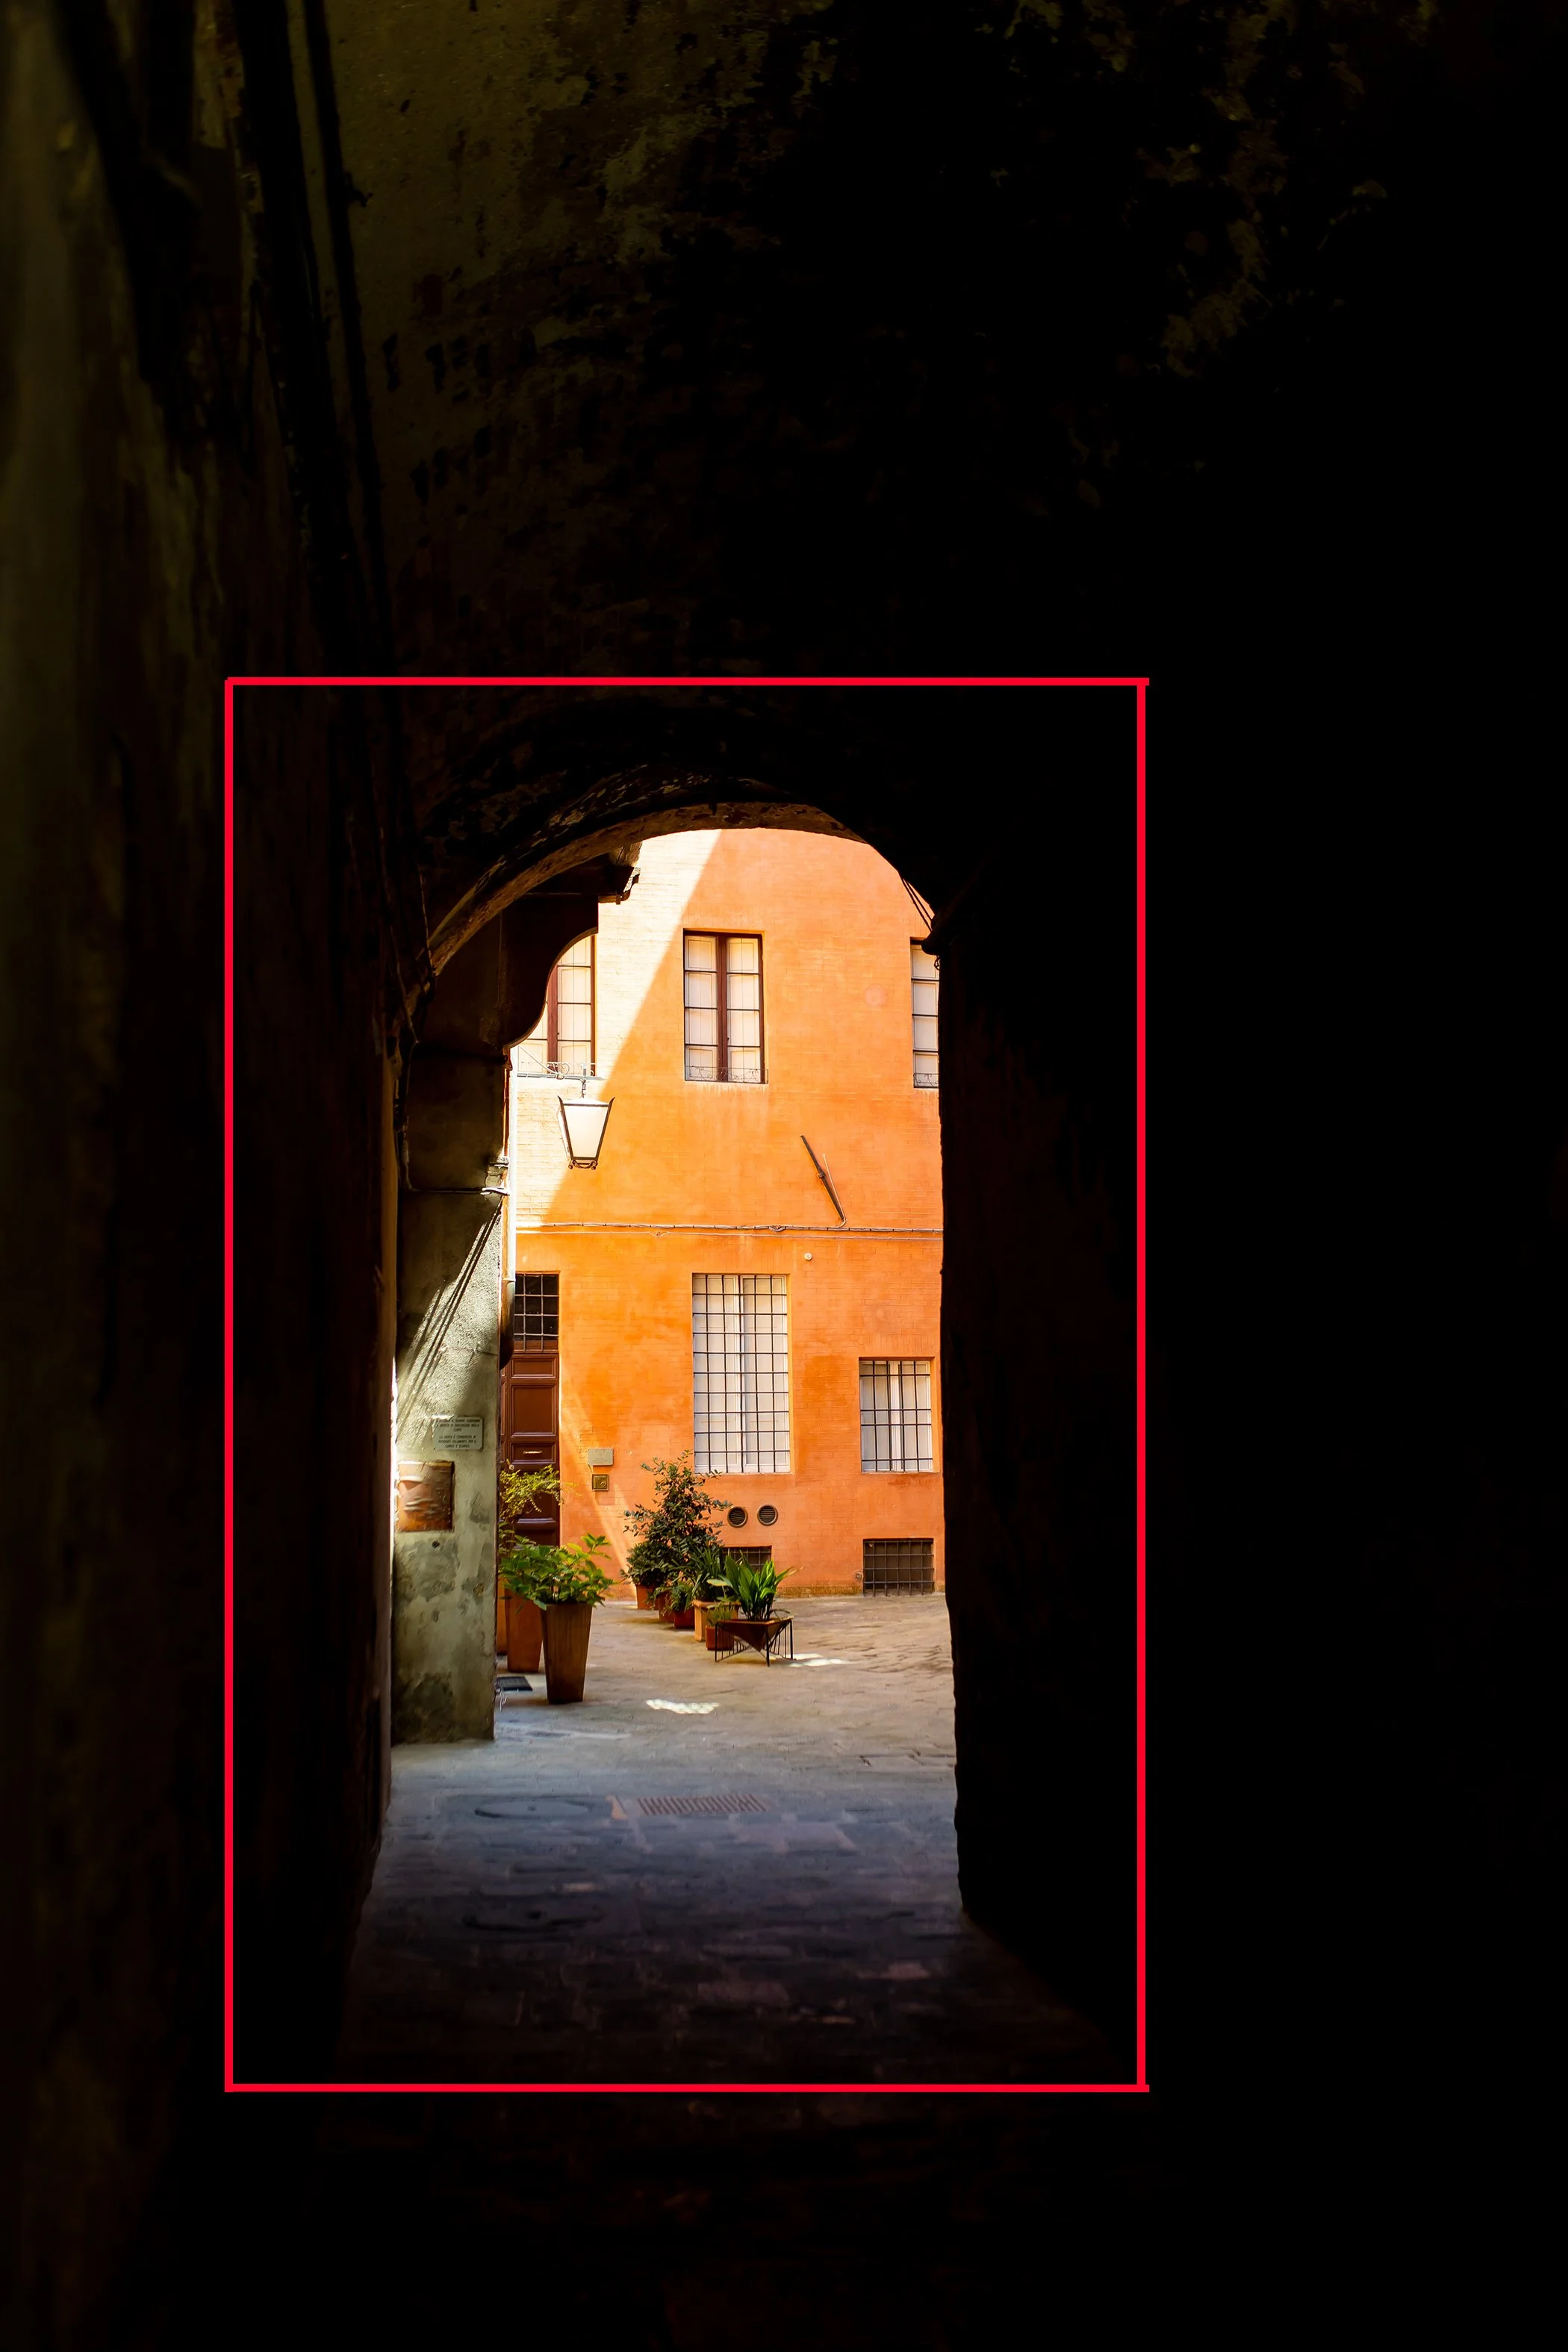
Angles, Lines + Framing
Be on the hunt for elements of your scene that may have a natural line, angle or frame that can lead the viewer’s eye where you want it to go. Compose your photo and place your subject (or place of interest) in the spot that lines or frame are directing you to. You can convey where you want your viewer to look by using this composition technique. (Hint: Bridges, pathways, tunnels, and overhanding tree canopies are all great for this!)


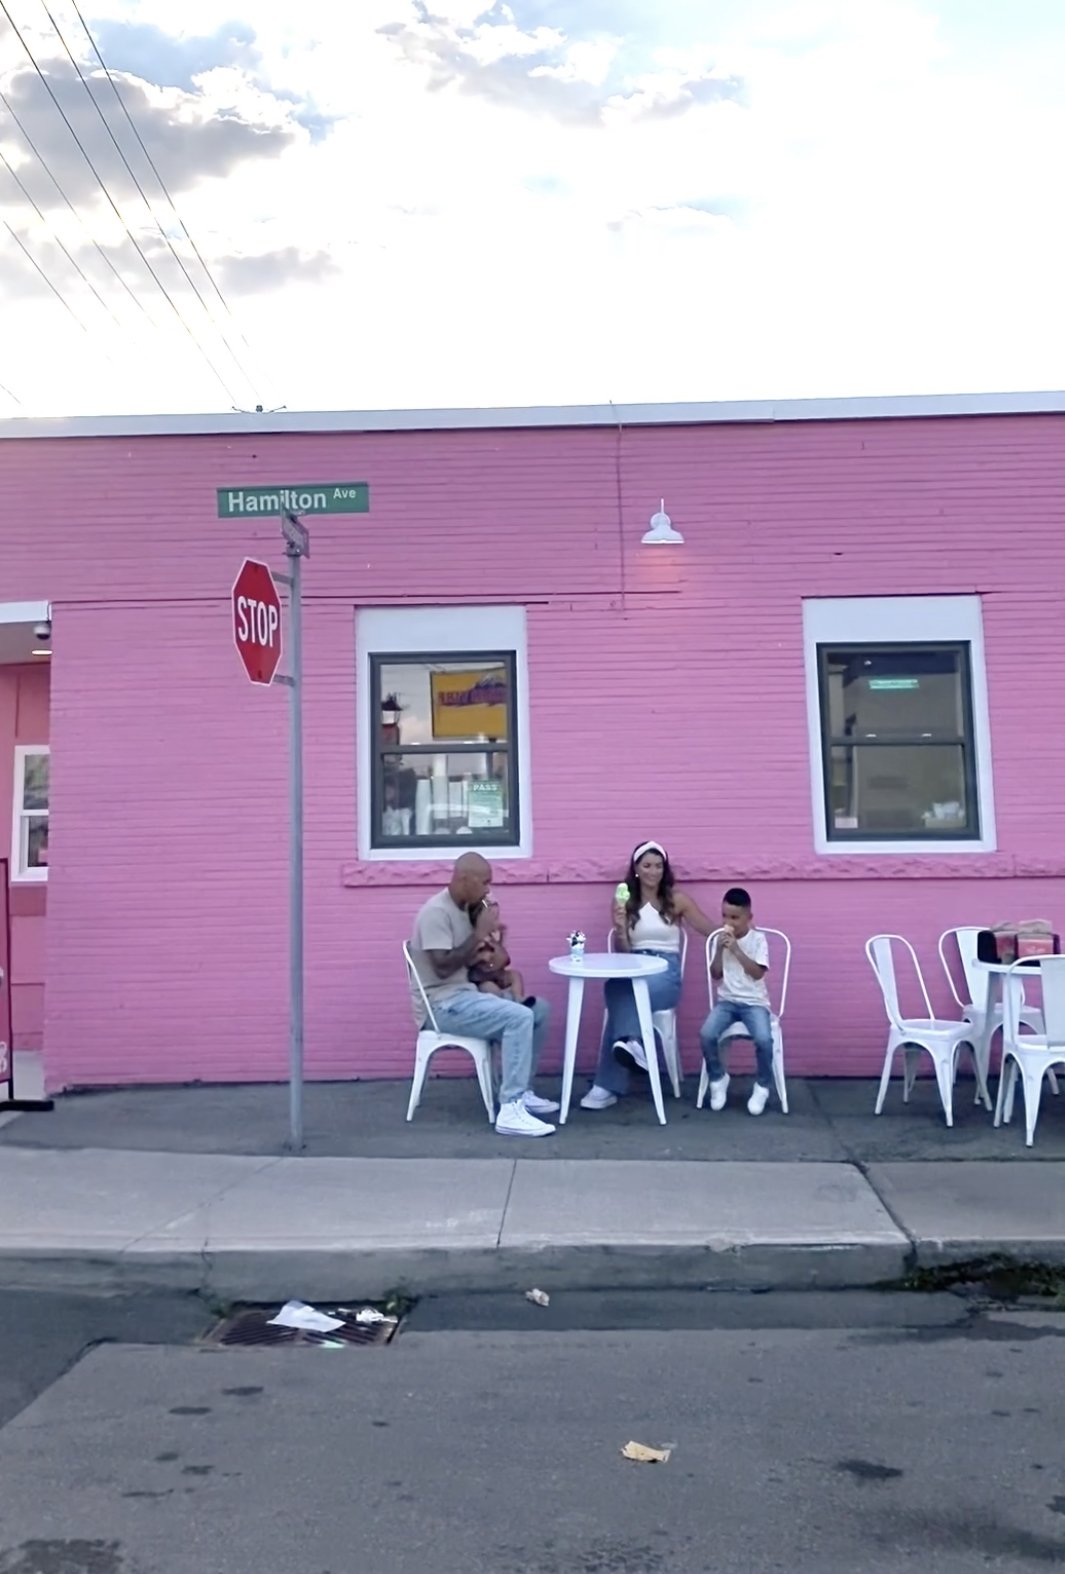
Distracting Elements
Be on the hunt for items that will distract the viewer’s eye. Take a quick scan of the backdrop and surrounding area that will be in your photo. Are there items (for ex. a garbage can, distracting sign, or trash) that take away from the photo. Consider recomposing the image to eliminate those elements if possible, and it will immediately improve the quality! You want the viewer to look at your subject, and not the elements that are hindering the photo. In the below example you’ll see a screen grab from a behind the scenes video, and then the final portrait without all the distracting elements! It’s that easy!

It’s worth noting that rules are sometimes made to be broken, so feel free to practice, experiment, and get used to documenting life in a more intentional way! While these are just a few quick tips that will hopefully help you see things a little bit differently, there is so much more you can dive into! For those interested in expanding their knowledge and taking their hobby or side hustle to the next level, I’d love to help out!